This paper records a simple process (not a tutorial) of a men's handbag. It mainly introduces the manufacturing process of a men's handbag, the sequence of manufacturing parts, and the processing methods of several handbags. This handbag is not high, but the customer requires to widen the thickness of the handbag. Therefore, the process is simple and suitable for novices (friends with basic handmade leather goods).
There may be some parts in the production process that are not in accordance with the normal regulations, such as no drawings and templates. This is just my personal habit. I can do it when I use it. I can draw the drawings and templates except where the drawings and templates are very needed. For others, I don't draw the drawings. I can cut the materials directly according to the experience, and reserve the leather materials in uncertain places for later cutting.
.Internal and external parts

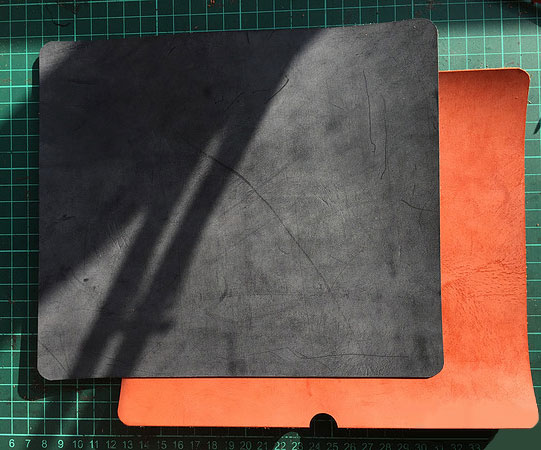
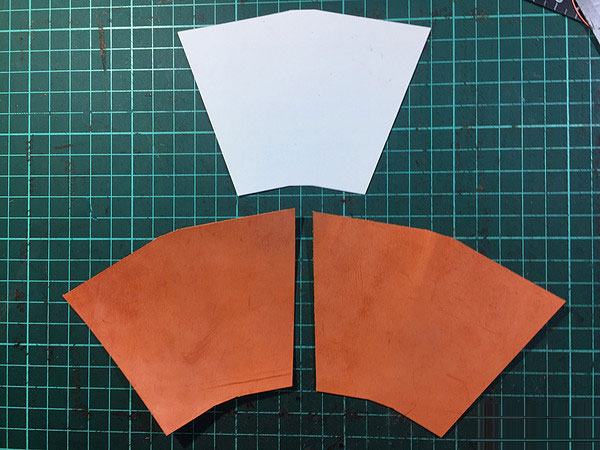
First, cut the dough and lining. The dimensions here are 24cm * 20cm for the dough, 23cm * 20cm for the lining, and 1cm longer than the lining. This is the reservation required for bending and bonding. Then make a semicircular notch at both ends of the middle line of the Lippi, where a position is reserved for the zipper.
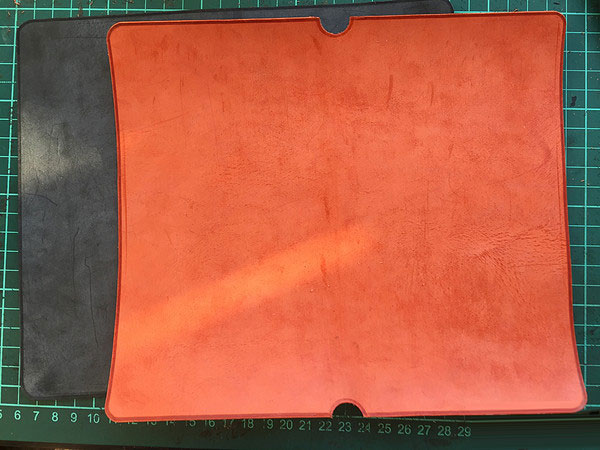
These two pieces of leather are accurately cut. After cutting, chamfer the leather edge with No. 2 or No. 1 edge cutter, press the edge with edge ironer, and seal the edge with edge sealing liquid. This is the conventional process of vegetable tanned leather treatment.
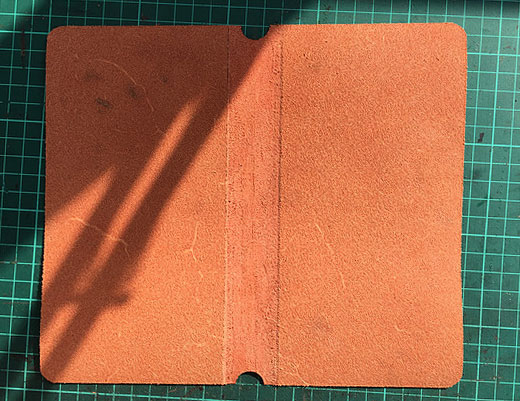
After that, the dough can be put aside for use. Turn over the inner skin and thin it with a width of 3cm in the middle. It needs to be bent and glued here, so it must be thinned. I thin it to about 5mm here.
.Change bag part
1.Change bag zipper

I made a version here. The size is 8cm * 17cm rectangle, which is used as the change bag in the middle. Here, you can also fold it in half after 16cm * 17cm, because I also used 16 * 17cm in the end, and this square is not used.
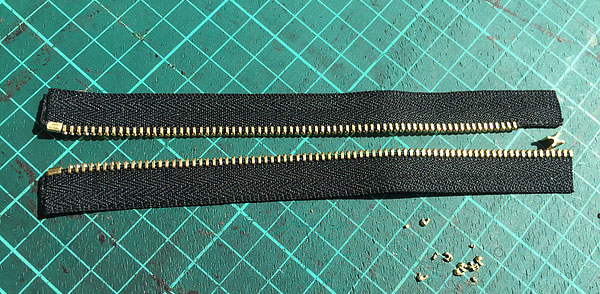
Take a section of zipper with a length of 17cm as the zipper of the change bag, and remove the zipper teeth from the head and tail with vice respectively. Here is a common zipper treatment method used by Hermes.
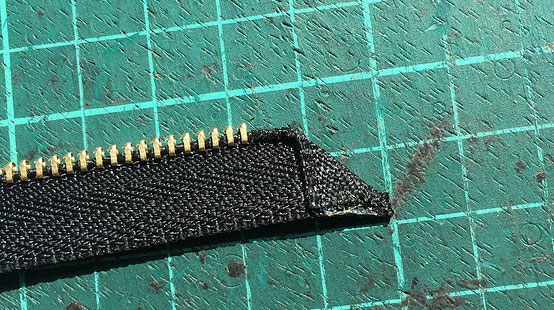
First, fold the zipper cloth with teeth removed according to the method shown in the figure above and stick it with glue.
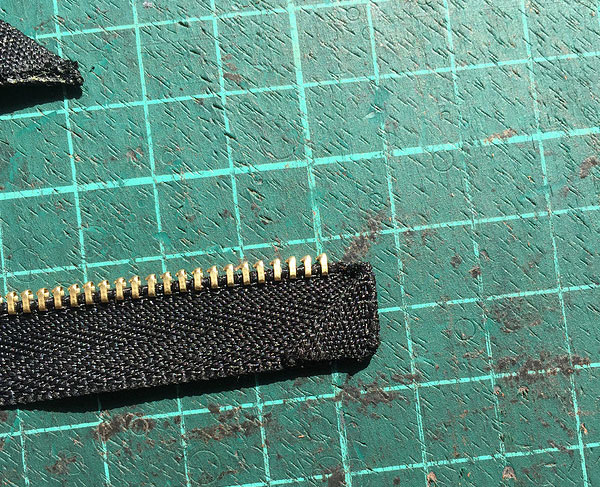
Then turn the zipper over, fold the corner just glued over and glue it. In this way, the toothed part of the zipper just forms a right angle. The zipper made in this way is more beautiful and stronger than the open zipper.
The processing method of the zipper on the other side is the same. After processing, fix the upper stop of the zipper. The next stop is uneasy. Be careful not to stick it upside down when sticking it here, and do not install it upside down when installing the top stop of the zipper.
2.Change bag body

After the zippers on both sides are processed, they are directly adhered to both sides of the change bag. It can be seen from the above figure that the edges of the change bag have been ironed and sealed. In the production of vegetable tanned leather, all exposed parts need to be sealed, which will not be repeated later.
On the side of the change bag, I can see that I have made a 4mm wide thinning. Here is convenient for glue bonding in the later stage, and the leather surface needs to be cut off< br /> After gluing, cut the suture normally.

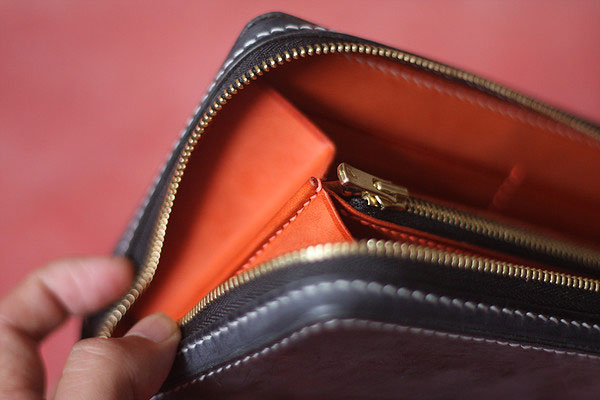
After sewing the thread, fold the change bag in half, align the two zippers, insert the zipper head, insert the bottom stop from the back, pinch it tightly with pliers, and apply glue on the inner side of the empty space on both sides of the change bag. The main shape of the change bag came out.
The desktop is messy, please ignore it, and the smoke in your hand. Please ignore the minors.
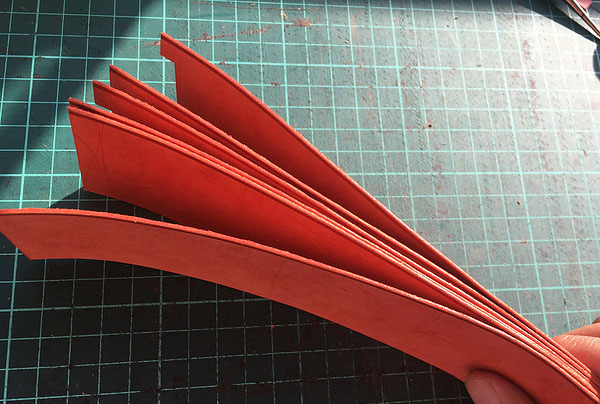
3.Change bag organ fold
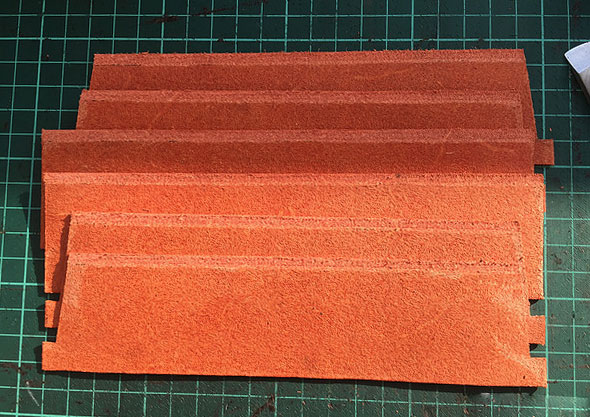
Next, we need to make an organ pleat. Here we need to make a plate. It is also based on experience. It is long on the top, cut 5.5cm on both sides and 1cm in the middle. The lower side is short, 2.5cm on both sides, and 1cm in the middle straight part. There is a width of 1cm in the upper and lower middle, which will be thinned later.
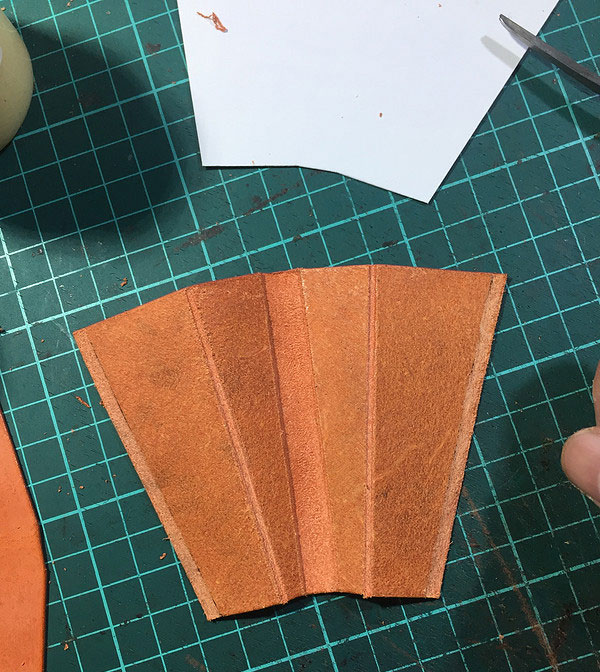
As shown in the figure, the 1cm part in the middle shall be thinned to 0.5mm thickness, the two folds shall be grooved (or not), and the adhesive on both sides shall be thinned to 4mm width.
The two organ pleats are handled in exactly the same way, and the other side can be imitated. After handling, use the thin place in the middle and stick it to the side of the change bag.
The two organ pleats are handled in exactly the same way, and the other side can be imitated. After handling, use the thin place in the middle and stick it to the side of the change bag.
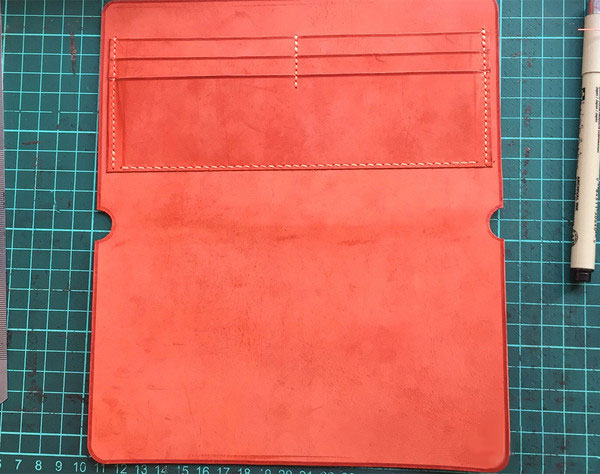
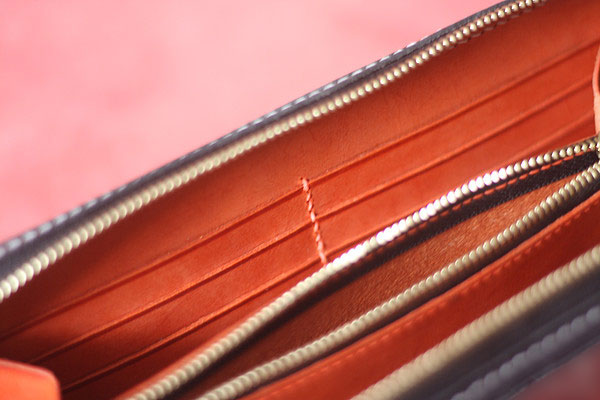
.Inner card position part
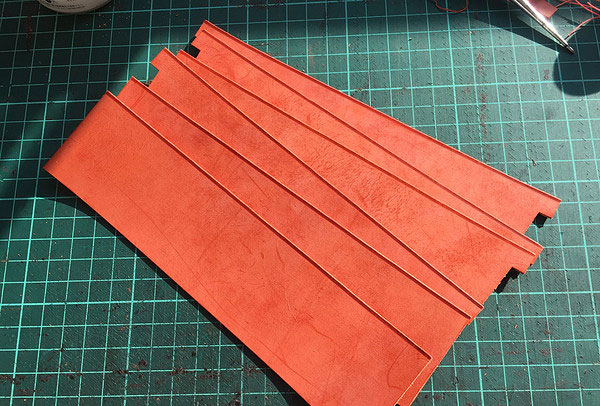
There are two kinds of detent sizes, and the upper two are 19cm * 4.7cm. The next card position is 19cm * 4.9cm.
After the silver surface is processed, it can be cut, ironed and sealed normally.
The part of the lower side that needs suture shall be thinned by 5mm. Then sew it on the lining in turn.
Locking effect after sewing on one side.

Sew the effect on both sides. It should be noted that the suture should be embedded in the back of the endothelium. Otherwise, when the skin is finally pasted, the skin will leave stitches, which is very ugly. There will be pictures at the back to show the appearance after digging and sewing.
After the clamping positions on both sides are sewn, the clamping position part is completed, and the bonding part of the overall zipper is carried out below. This should also be the part we are more concerned about.
.Integral zipper part
As mentioned earlier, the customer of this handbag requires a width of 3cm to 3.5cm and 15K cash. Therefore, I widened the leather material of the zipper to ensure that the width of the zipper is 3.2cm (3.5cm is too thick, and the single-layer zipper is ugly).
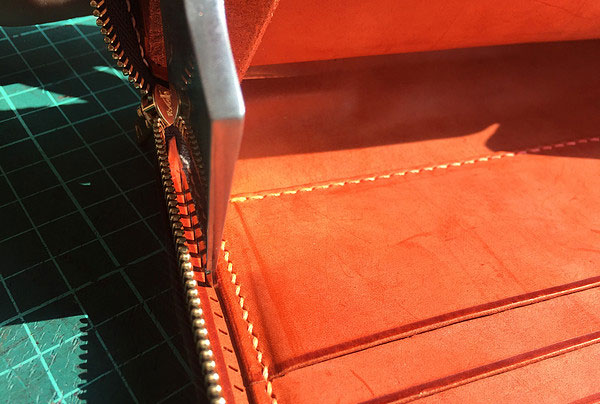
When connecting a wide zipper, you need to use the cutting technology. As mentioned in my last thinning tutorial, after cutting, the thin part, as the part connecting the zipper and the bag, is very straight, and the advantages of the cutting effect can be reflected here, with clear boundaries and no fear of sticking and skewing. Friends who don't understand the cutting can see the link.
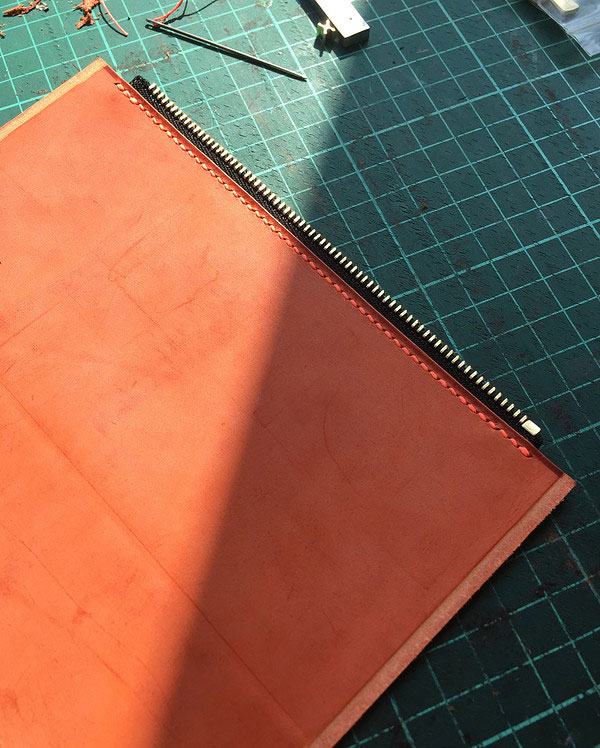
The overall zipper sticking is shown in the figure above. There are several explanations,
First: the ideal thickness of the cut part is within 0.5mm.
Second: when bonding, stick it with the lining in advance. Keep the zipper locked and stick it again. Don't separate it.
Third: when sticking, stick it to the edge of the lining along the height difference line of the cutting, so it won't be crooked.
Fourth: first stick the three straight lines, and finally deal with the bending. Fifth, cut the skin with scissors at the corner, then fix it into a triangle and stick it again.
Here, if you stick the zipper directly instead of the leather zipper in the figure, the method is similar:
First: ensure that it is locked and then glued.
Second: there are several lines marking the width of the zipper. Choose one of them to align and stick it along the edge of the endothelium, so it won't be crooked.
Third, first stick the three straight sides, and finally deal with the bending. The bending part is directly pinched into folds and glued. Fourth: use yellow glue (all-purpose glue).
.Integral suture part
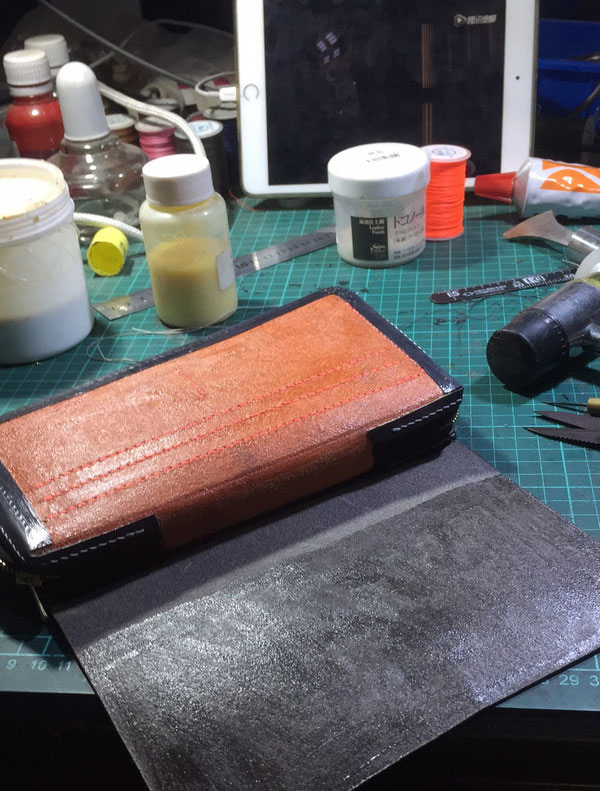
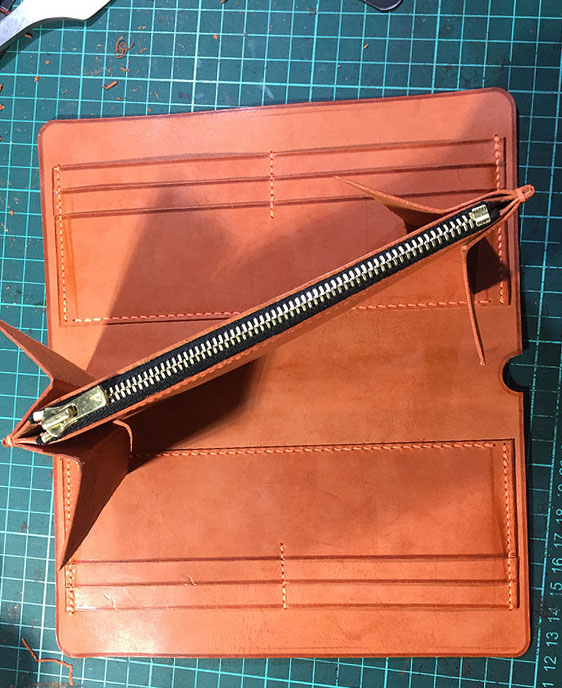
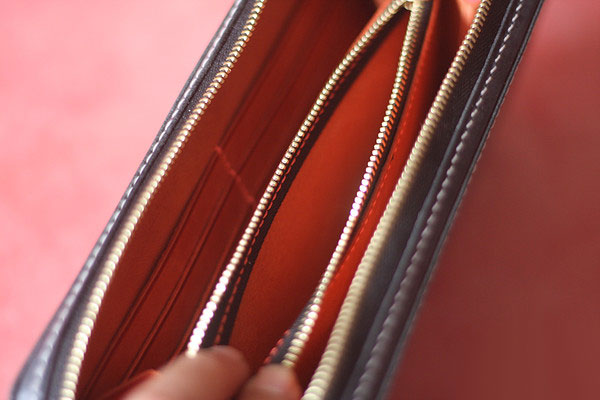
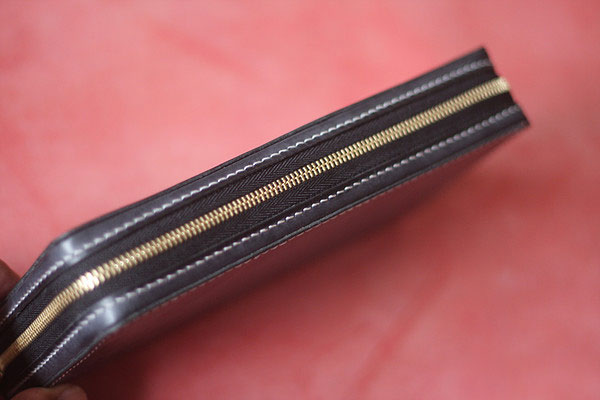
After all the zippers are glued, the outer skin can be glued. As shown in the figure, first align one side and then align the other side.
After the outer skins on both sides are glued, open the whole zipper of the bag, and then we cut it from the inside to the outside. When it's time to test the ability of chopping, ensure that the chopping is vertical and straight through, and ensure that the chopping trace on the skin is a straight line.
That's it. After cutting, cut both sides of the organ fold of the zero wallet. The cutting number of the organ fold here must be good without too much error. After the organ pleats are cut, they can be stuck to the bag or not (I didn't stick here, just sew).
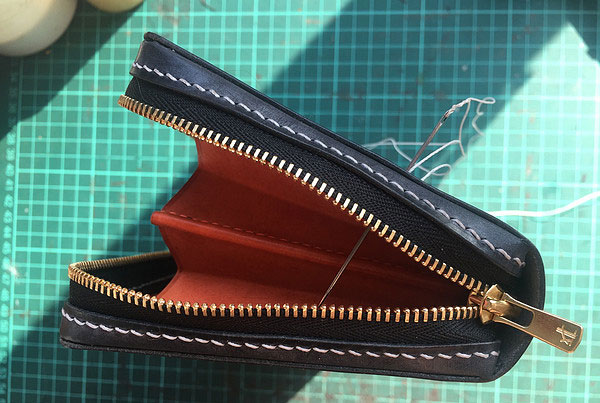
After all the cuts are done, you can sew.
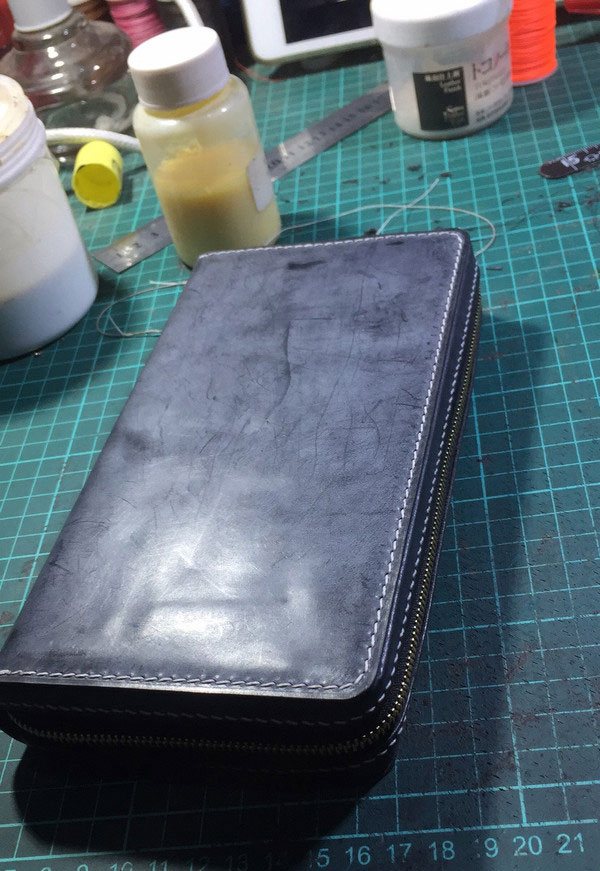
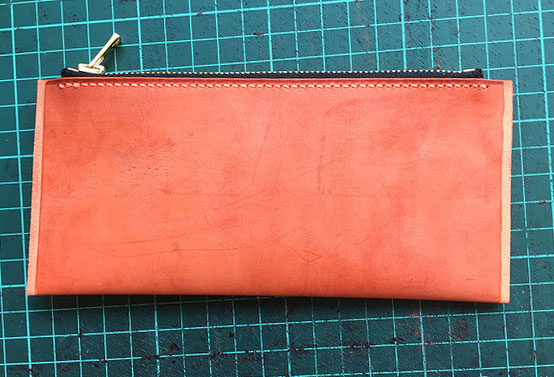
Finally, the effect of sewing is finished. After sewing, the bag is finished, and there is no other follow-up treatment.
.

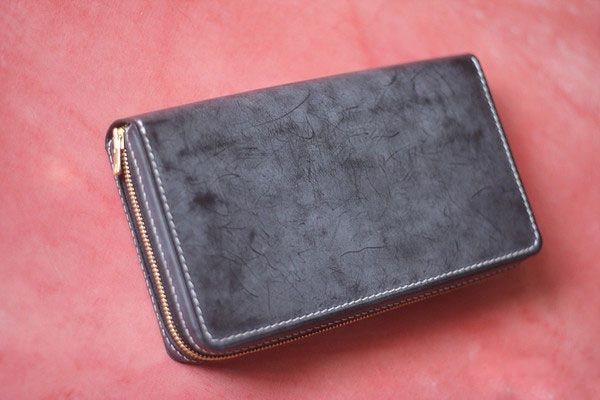
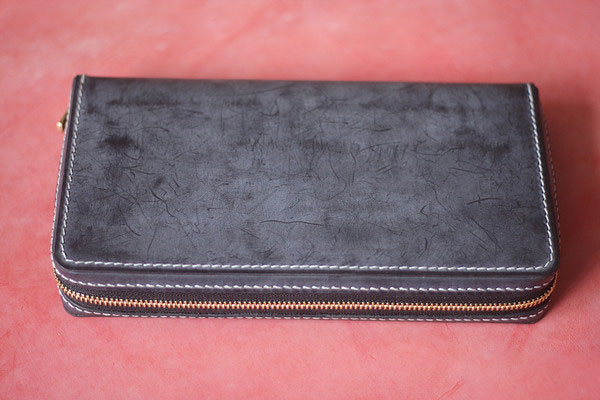
Here, the skill sharing of handmade leather goods in this issue is over. After all, it is not a tutorial, but a process. Moreover, this paragraph is not Gaoding. There are few skills in detail production. In fact, it is very simple. Therefore, if you still have something you don't understand, you can leave a message and interact with each other. I hope you like it.
Lady bag
Leather Wallet
Tablet Case/Laptop Bag
Luggage Tag
Univeral Bag For Mac Book